
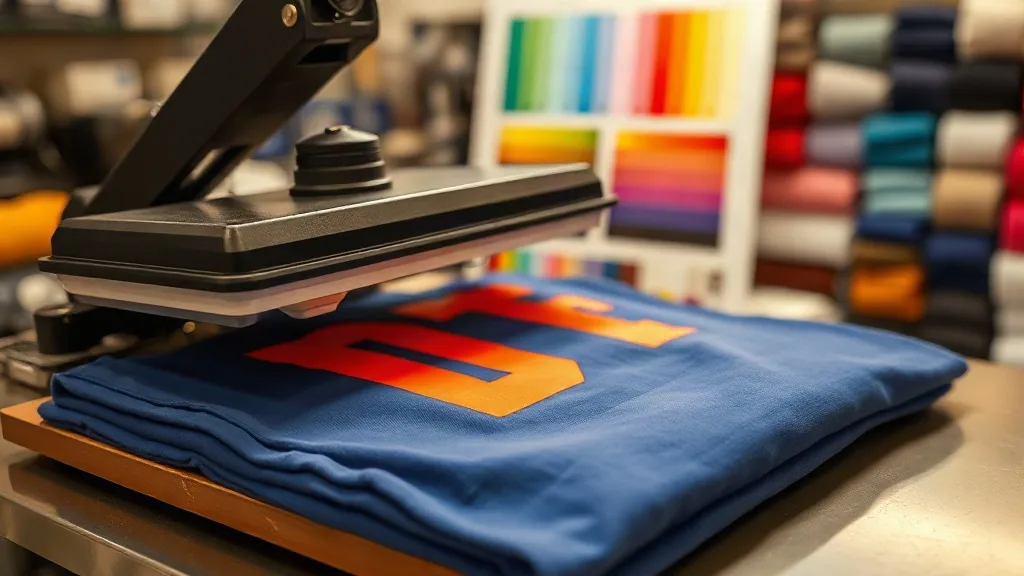
When you first start offering dtf transfers, the appeal is obvious: no cutting, no weeding, and vibrant full-color prints that seem to work on almost anything. But the moment you press your first transfer onto a tricky fabric, you realize that “almost anything” comes with caveats. A design that looks stunning on a 100% cotton tee can crack, fade, or peel on a polyester jersey if you don’t adjust your process. This guide is for print shop owners and apparel decorators who want to move beyond trial and error and build a reliable, repeatable workflow for dtf printing on cotton, polyester, blends, and even specialty fabrics. We’ll cover fabric preparation, pressing parameters, troubleshooting, and the nuances that separate a good print from a flawless one.
Why Fabric Type Matters for DTF Transfers
DTF (direct-to-film) printing is often marketed as a universal solution, and in many ways it is. The adhesive powder used in the process bonds to a wide range of fibers, which is why dtf transfers work on everything from cotton to nylon. However, the fabric’s composition, weave, and finish affect how the adhesive cures and how the ink layer sits on the surface. Understanding these differences is the first step toward consistent results.
Cotton and Cotton Blends
Cotton is the most forgiving fabric for dtf. The natural fibers provide a slightly textured surface that the adhesive can grip, and the ink layer adheres well without much fuss. Pre-pressing is still essential to remove moisture and wrinkles, but you have more leeway with pressure and temperature. Cotton blends (like 50/50) behave similarly, though higher polyester content may require slight adjustments.
100% Polyester and Synthetic Fabrics
Polyester is where many newcomers run into trouble. The smooth, sometimes slick surface can make it harder for the adhesive to bond, and excessive heat can cause the fabric to scorch or the dye to migrate. The key is to use a lower temperature (around 280°F to 300°F) and a slightly longer press time to allow the adhesive to flow without burning the fabric. Also, polyester tends to hold static, so a quick lint roll before pressing helps remove dust that could interfere with adhesion.
Specialty Fabrics: Nylon, Canvas, and More
Nylon and other synthetics often require a lower temperature and light pressure to avoid melting or glazing. Canvas and heavy cotton twill have a rougher surface that can benefit from a slightly higher pressure to push the adhesive into the fibers. Always test on a scrap piece first, especially with coated or water-resistant fabrics, as the coating can prevent proper bonding.
Preparing Fabrics for Flawless DTF Application
Proper preparation is non-negotiable. Even the best dtf transfers will fail if the fabric isn’t ready. Here’s a step-by-step approach that works across fabric types.
1. Pre-Press to Remove Moisture and Wrinkles
Moisture is the enemy of adhesion. Pre-press the garment for 5-10 seconds at your intended pressing temperature (or slightly higher) to evaporate any lingering moisture from storage or manufacturing. This also smooths out wrinkles that could cause uneven pressure. For cotton, a quick press at 330°F works well; for polyester, stick to 280°F-300°F to avoid scorching.
2. Use a Lint Roller or Brush
Dust, lint, and loose fibers can get trapped between the adhesive and the fabric, leading to weak spots or peeling. A quick once-over with a lint roller removes these contaminants. This is especially important on dark fabrics where lint shows up as white specks under the print.
3. Consider Fabric Softener and Coatings
Fabrics treated with silicone softeners or water-repellent coatings can repel the adhesive. If you’re working with such garments, a light pre-wash (without softener) can help, but always test first. For coated fabrics like nylon, a lower temperature and extended press time may be necessary to achieve a bond.
Pressing Parameters: Temperature, Pressure, and Time
Getting the press settings right is where experience pays off. There’s no single “correct” setting for all fabrics, but these guidelines will get you close, and you can fine-tune from there.
Temperature Guidelines
- Cotton and blends: 320°F–340°F
- 100% polyester: 280°F–300°F
- Nylon and synthetics: 270°F–290°F
- Canvas and heavy twill: 330°F–350°F
Always verify with a heat gun or infrared thermometer, as press dials can be inaccurate.
Pressure Settings
Medium pressure is generally sufficient for most fabrics. Too little pressure and the adhesive won’t penetrate the fibers; too much and the ink layer can spread or the fabric can become shiny. For textured fabrics like canvas, increase pressure slightly to ensure contact. For smooth synthetics, reduce pressure to avoid flattening the fabric.
Press Time
Most dtf transfers require 10-15 seconds at the recommended temperature. Polyester may need 15-20 seconds at a lower temperature to allow the adhesive to flow without damaging the fabric. Always follow the transfer supplier’s instructions as a starting point, then adjust based on your test results.
Troubleshooting Common DTF Issues
Even with careful preparation, problems can arise. Here’s how to diagnose and fix the most common issues.
Peeling or Poor Adhesion
If the transfer peels after washing or immediately after pressing, the adhesive didn’t bond properly. Causes include insufficient pressure, low temperature, or fabric contamination. Try increasing pressure slightly, raising temperature by 10°F, or pre-pressing longer to remove moisture. Also, check that the fabric isn’t coated with a finish that repels adhesive.
Cracking or Fading
Cracking usually occurs when the ink layer is too thick or the fabric stretches beyond the ink’s elasticity. For stretchy fabrics, choose a transfer with a more flexible ink formulation. Fading can result from excessive heat during pressing, which degrades the pigments. Lower the temperature and shorten press time if you notice colors dulling.
Ghosting or Double Image
Ghosting happens when the transfer shifts during pressing. Use a heat-resistant tape to secure the transfer in place, or hold it firmly with a protective sheet until the press closes. Also, ensure the transfer is completely cool before peeling the carrier film; peeling too early can distort the image.
Washing and Durability: Setting Realistic Expectations
Customers often ask how long a dtf print will last. With proper application, you can expect the print to withstand 50+ washes without significant fading or cracking. However, durability depends on fabric type and washing habits. Advise customers to turn garments inside out, use cold water, and avoid harsh detergents. For polyester, which can be prone to dye migration, washing in cold water also helps preserve color vibrancy.
Choosing the Right DTF Transfers for Your Fabrics
Not all dtf transfers are created equal. The quality of the film, ink, and adhesive powder varies significantly between suppliers. For challenging fabrics like polyester and nylon, look for transfers specifically formulated for synthetics, which often have a more flexible adhesive and ink. Testing samples from different suppliers on your typical fabrics will save you headaches down the line.
Frequently Asked Questions
Can I use DTF transfers on 100% polyester without scorching?
Yes, but you need to lower the temperature to around 280°F–300°F and use a pressing pillow or protective sheet to distribute pressure evenly. Pre-pressing also helps remove moisture that can cause steam and scorching.
How do I prevent the transfer from peeling after washing?
Ensure proper pressure and temperature during pressing, and always pre-press the fabric to remove moisture. Also, wait 24 hours after pressing before washing to allow the adhesive to fully cure.
What’s the best way to store DTF transfers before use?
Store them in a cool, dry place away from direct sunlight. Keep them flat or roll them loosely to avoid creases. Avoid storing them in humid areas, as moisture can affect the adhesive powder.
Can I layer DTF transfers for multi-color designs?
Yes, you can layer DTF transfers, but it’s tricky. Press the first layer for a shorter time (about 5 seconds), peel the carrier, then apply the second layer and press fully. Use a Teflon sheet to protect the first layer from direct heat.
Why does my DTF print look dull after pressing?
Dullness can be caused by excessive heat or pressure, which flattens the ink. Try reducing temperature by 10°F and pressure slightly. Also, ensure you’re using a smooth, heat-resistant sheet on top to protect the ink during pressing.